Quickstart
This section gives an introduction about senaite.panic. It assumes you have SENAITE LIMS and senaite.panic already installed. Please read the Installation for further details.
Panic settings
Visit the control panel view for senaite.panic to configure the settings. This control panel is accessible to users with Site Administrator role, through “Site Setup” view, “Add-on Configuration” section:
http://localhost:8080/senaite/@@panic-controlpanel
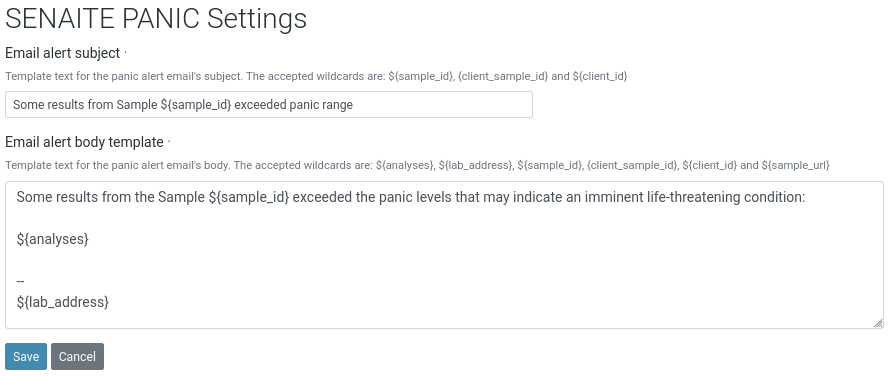
From this view you can configure the subject and e-mail to use for notifications when the results are below the minimum panic value or above the maximum panic value. Several wildcards like ${analyses}, ${lab_address}, ${sample_id}, or ${sample_url} are supported.
Adding panic levels
To add panic levels, click to the “gear” icon from top right, go to “Analysis Specifications” view and either choose one or create a new one. In the “specifications” section, choose the analysis, locate the columns “Panic < Min” and “Panic > Max” and type the desired values.

Results in panic
When a result with a value that is either below the “Min panic” value or above the “Max panic” value set in the specifications, the system displays a red alert icon next to the result:

Email notification
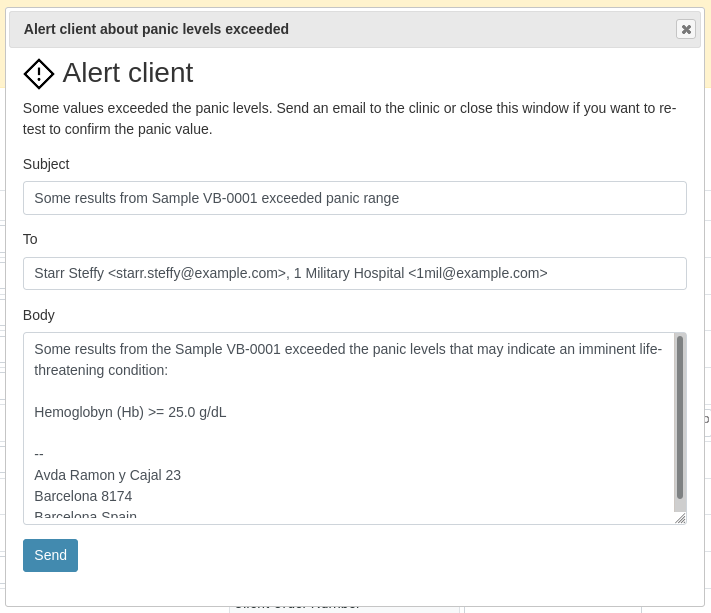
When a result is “in panic”, a notification panel is displayed at the top of the sample view prompting the user to send an e-mail notification to the client contact the sample is assigned to:

When the button is clicked, an e-mail form is displayed and auto-filled with the subject and template created in the Panic Settings view: